


版权归德昌电气所有 中企动力提供技术支持 京ICP备17027889号

资讯分类
资讯详情
如何读取电流传感器与arduino?
以HSTS016L型号为例,它能够测量10A到200A的电流值。使用分芯电流传感器类型,我们可以在不改变现有系统的情况下打开和关闭CT,只需使用夹子将测量电缆放入CT内部。该传感器的输出电压为2.5V +/- 0.625V,具有良好的精度。虽然该传感器的电压输出范围在1.875V到3.125V之间,但它也适用于3.3V的模拟传感器,特别是Arduino Nano和NodeMCU微控制器。
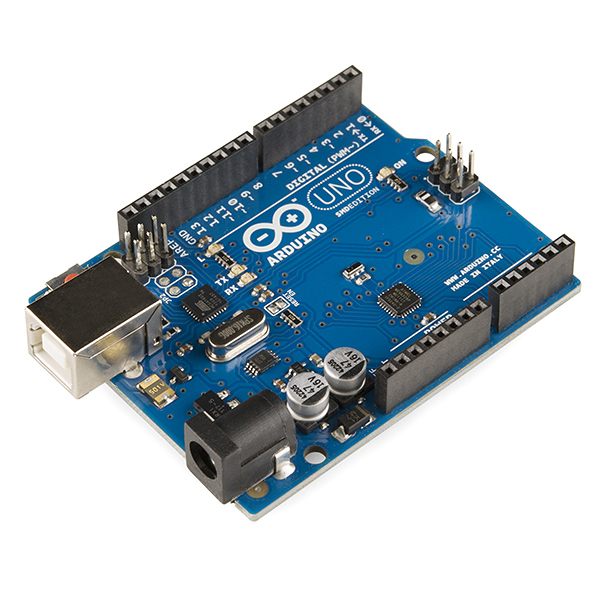
传感器有4个输出引脚:红色(5V输入),黑色(0V Gnd),黄色(模拟输出)和白色(校准模拟)。有时电源电压可能不是精确的5V,因此我们需要额外的模拟引脚来测量白引脚的确切中点。对于Arduino UNO,有6个模拟输入引脚(A0-A5),我们可以使用其中一个引脚来测量交流电流,另外一个引脚用于校准目的。模拟输入引脚将0到5V之间的输入电压映射为0到1023之间的整数值,分辨率为4.9mV /单位(5.00V / 1023单位)。
我们将红色连接到5V输入,黑色连接到地,黄色连接到模拟引脚A1,白色连接到模拟引脚A2。强烈建议使用12V电源适配器为Arduino Uno和传感器供电。通过USB使用5V电源会有一个初始偏移值,您可能需要在上传代码时手动添加偏移值。
// Which pin to measure Current Value (A0 is reserved for LCD Display Shield Button function)
int currentAnalogInputPin = A1;
// Which pin to calibrate offset middle value
int calibrationPin = A2;
// Key in value to manually offset the initial value
float manualOffset = 0.00;
// If using “Hall-Effect” Current Transformer, key in value using this formula: mVperAmp = maximum voltage range (in milli volt) / current rating of CT
float mVperAmpValue = 12.5;
// Analog input pin maximum supply voltage, Arduino Uno or Mega is 5000mV while Arduino Nano or Node MCU is 3300mV
float supplyVoltage = 5000;
/* to read the value of a sample for offset purpose later */
float offsetSampleRead = 0;
/* to read the value of a sample including currentOffset1 value*/
float currentSampleRead = 0;
/* to count time for each sample. Technically 1 milli second 1 sample is taken */
float currentLastSample = 0;
/* accumulation of sample readings */
float currentSampleSum = 0;
/* to count number of sample. */
float currentSampleCount = 0;
/* to calculate the average value from all samples, in analog values*/
float currentMean ;
/* square roof of currentMean, in analog values */
float RMSCurrentMean ;
/* the final RMS current reading*/
float FinalRMSCurrent ;
void setup() /*codes to run once */
{
Serial.begin(9600); /* to display readings in Serial Monitor at 9600 baud rates */
}
void loop()
{
/* 1- AC & DC Current Measurement */
if(micros() >= currentLastSample + 200) /* every 0.2 milli second taking 1 reading */
{
/* read the sample value including offset value*/
currentSampleRead = analogRead(currentAnalogInputPin)-analogRead(calibrationPin);
/* accumulate total analog values for each sample readings*/
currentSampleSum = currentSampleSum + sq(currentSampleRead) ;
/* to count and move on to the next following count */
currentSampleCount = currentSampleCount + 1;
/* to reset the time again so that next cycle can start again*/
currentLastSample = micros();
}
/* after 4000 count or 800 milli seconds (0.8 second), do this following codes*/
if(currentSampleCount == 4000)
{
/* average accumulated analog values*/
currentMean = currentSampleSum/currentSampleCount;
/* square root of the average value*/
RMSCurrentMean = sqrt(currentMean);
/* calculate the final RMS current*/
FinalRMSCurrent = (((RMSCurrentMean /1023) *supplyVoltage) /mVperAmpValue)- manualOffset;
/* if the current detected is less than or up to 1%, set current value to 0A*/
if(FinalRMSCurrent <= (625/mVperAmpValue/100))
{ FinalRMSCurrent =0; }
Serial.print(” The Current RMS value is: “);
Serial.print(FinalRMSCurrent,decimalPrecision);
Serial.println(” A “);
currentSampleSum =0; /* to reset accumulate sample values for the next cycle */
currentSampleCount=0; /* to reset number of sample for the next cycle */
}
}